Showing posts with label recipes. Show all posts

Friday, July 1, 2011

Sesame Chicken

I was in the mood for Sesame Chicken, but the recipe I usually use has you bread the chicken and then fry it, then coat it with the sauce...I wanted something more healthy and less time consuming, this came together in like 10 minutes :)
YUMMY Sesame Chicken
{Amy, do you love the napkin I used for the backdrop? I do! :) }

  • This recipe came from Food.com, posted by Jenny White
  • My modifications are in BLUE :)
  • {I started my rice in the rice cooker before I started cooking, and I had the chicken thawing all afternoon}
  • 6 boneless skinless chicken breast halves, pat dry with paper towels
  • 1/2 cup honey
  • 1/2 cup soy sauce
  • 1 cup water
  • 2 tablespoons cornstarch
  • 1/2-1 teaspoon ground ginger (fresh is better) {I used a dash of ginger powder, it was tasty}
  • 1/2-1 teaspoon red pepper flakes (optional)
  • 1 tablespoon toasted sesame seeds {Sesame Seeds can be pricey if you try to buy a small spice-sized container of them at the grocery store, but I bought mine in bulk from Honeyville Grains, 13 oz for $6.99}

  • {I added chopped onions, chopped garlic and about 2 minutes before it was ready I threw in some halved sugar snap peas}

  • Directions:
  • 1 Cut chicken breast into 1 inch strips or bite size pieces.
  • 2 Heat a large non-stick skillet that has been sprayed with Pam, over medium-high heat.{I put in some vegetable oil and little bit of sesame seed oil}
  • 3 Cook chicken for about 6 minutes or until no longer pink.
  • 4 Mix together honey, soy sauce, water, corn starch, ginger and red pepper flakes.
  • 5 Whisk until no corn starch lumps appear.
  • 6 Pour sauce mixture into skillet with chicken.
  • 7 Cook until sauce thickens slightly.
  • 8 You can add more water if sauce is too thick.
  • 9 Sprinkle with sesame seeds.
  • 10 Cover and simmer for 10 minutes or until chicken starts to soak up the sauce.

  • Serve over rice, ENJOY!!!


    Tuesday, April 19, 2011

    Homemade Baby Food: Sweet Potato

    Making your own baby food is far superior than buying it. It's definitely better for your baby, better for your grocery budget, and it's SUPER EASY!

    To make baby food with sweet potato, I first bake some sweet potato's, just like you would bake regular potato's, at 375 for about an hour, or until they are tender when you stick a fork in. *note Sweet potato's are sugary, so when they bake, they leak a little syrup-y type stuff so bake them on a cookie sheet**
    Let them cool a bit and the peel will slide right off
    Put them into a blender/food processor, or mash them with a tater masher
    Now, at this point you can leave them plain, add some breastmilk or formula to loosen it up a bit, or add applesauce like I did. I added about half as much applesauce as I had sweet potato.
    Whip it up real nice, I had to stop and stir it with a spoon to get some of the bigger chunks to puree.
    You can really add whatever nutritious fruits/Veggies you have on hand. Sometimes I put blueberries with applesauce or steamed carrots with the sweet potato, THIS is a great source for making baby food, and when to introduce each kind :)
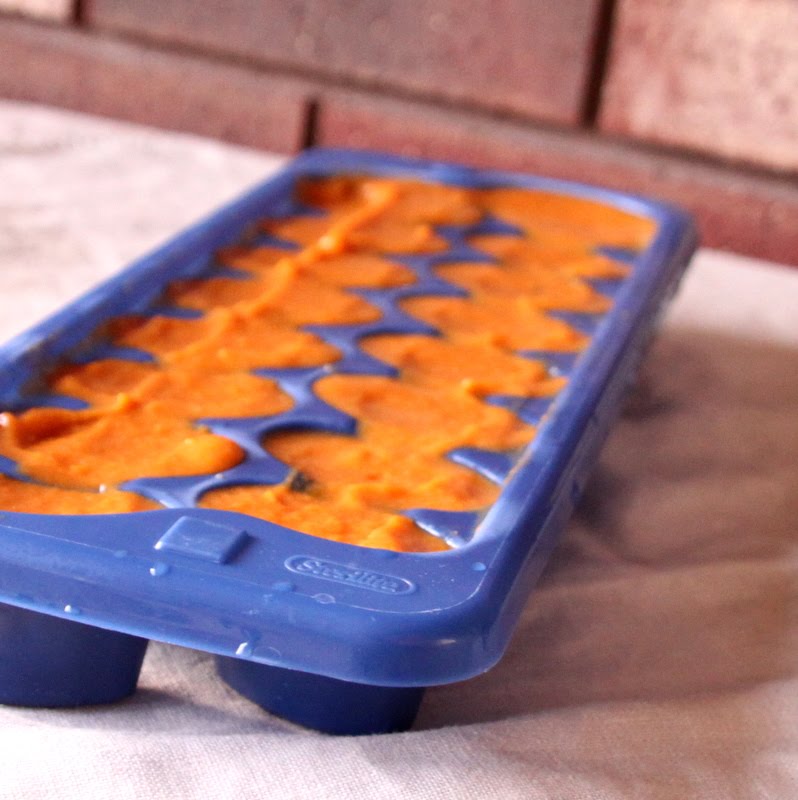
    I put mine into ice cube trays, let them freeze over night, and then pop them out and put them in a ziplock baggie, back into the freezer, I take out a couple at a time to thaw in the fridge. I feed Everett these plain, or now that he's a little older, I'll mix it with rice or cut up noodles, or anything else we're having for dinner.
    He's a fan! YUM!
    What does your baby eat?